Maker Journal
Why I Built a Second Bridge Game: Running a Construction Company Wasn't Enough
Bridge Building Company teaches students to choose a bridge. Bridge Lab lets them design and test one. Here is why I added it, and how I use both in tech ed.
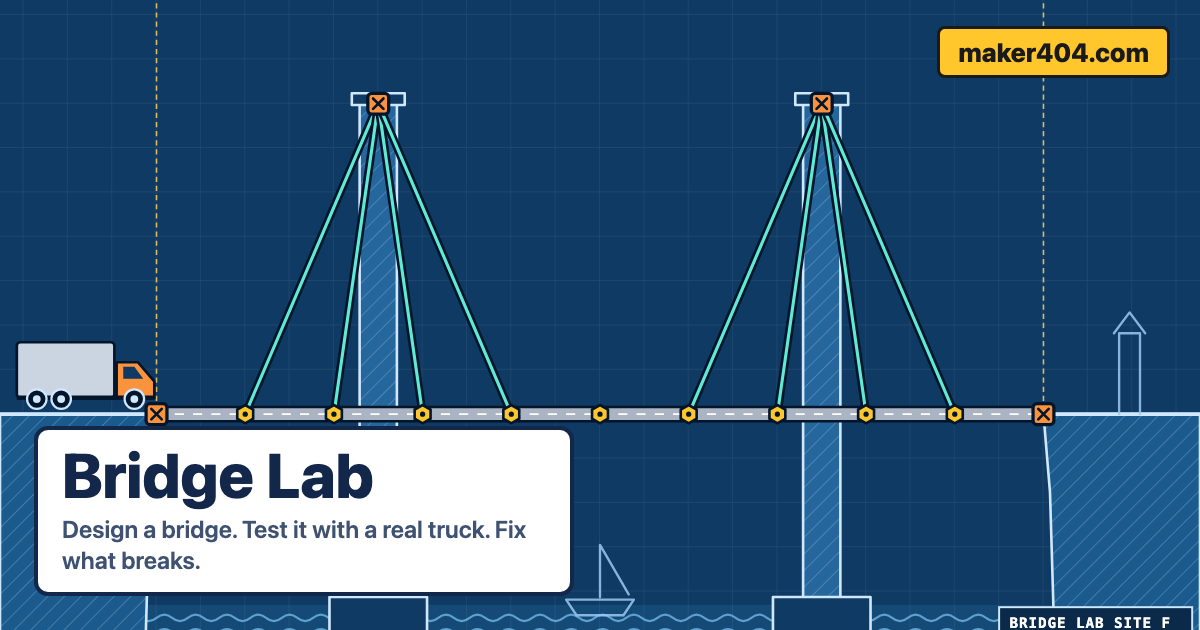
A few days ago I shared Bridge Building Company, a game where students run a small construction company and pick a bridge for each job site. I like it. But once I started using it in class, I noticed what was missing.
In that game, the bridge is a menu choice. Students pick a beam, truss, arch, or suspension bridge, and the game tells them whether it held. They learn which bridge fits which site. They never get to ask the more interesting question: why does a bridge hold or fail?
A bridge unit has two halves. One is deciding: what kind of bridge, what budget, what risks. The other is designing: where do the beams go, which ones carry the load, and what happens when one is too weak. The first game covered the first half. I wanted something for the second.
Where the idea came from
I found two free bridge-designer games online and played them for a while. They were fun, and they showed me what a design game does well: you build something, test it, watch it fail, and fix it. I did not want to copy them, so I studied how they worked and built my own version around the things I care about in a tech ed room: plain language, a budget that matters, and a clear answer to “what broke, and why?”
I also asked myself whether this should be part of the first game or a separate one. I decided it should be both. Each game has a switcher in the header, so students can move between Run the company and Design a bridge whenever they want.
Bridge Lab: design it, test it, fix it
Bridge Lab gives students a job site, a budget, and a vehicle that has to cross. They draw a bridge from deck, timber, steel, and cable, then press Test and watch a truck, car, train, or walking group drive over it.
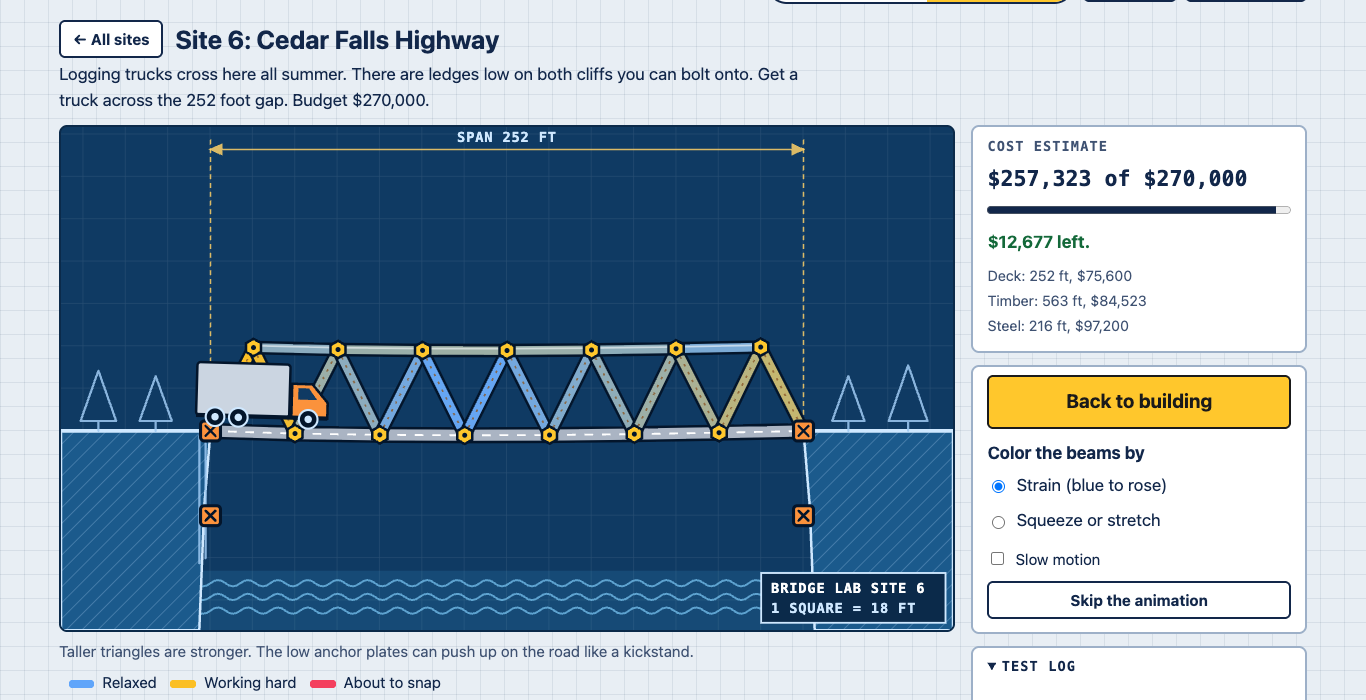
The beams change color as they work harder, from blue to amber to rose. When something breaks, the drawing points to the beam that snapped first and says whether it was being squeezed or stretched. “My bridge broke” turns into a question students can answer: which beam failed, and what would share its load?
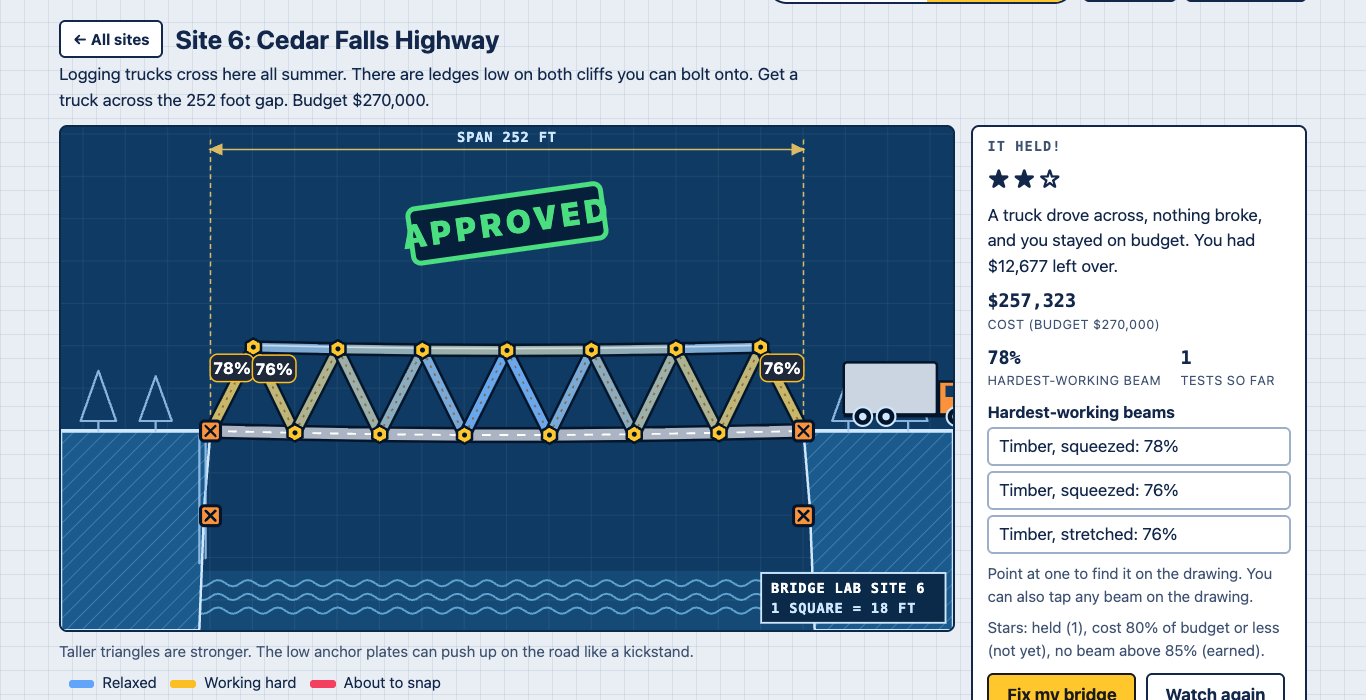
There are eight sites, from a 40-foot footbridge to an 1,800-foot harbor crossing. Every site has a budget, and a bridge that holds but costs too much does not pass. That is the part I wanted most. It brings back the trade-offs from the first game, but now students feel them in their own design: triangles share load, timber is cheap, steel is strong, and cables only pull.
What I learned by watching kids try it
Design games are hard. When students tried Bridge Lab, most of them went over budget to get a bridge that worked. A game that frustrates students is not much of a reinforcement tool, so I added help. After two tests that did not work, Bridge Lab offers a hint for that site. After three, it can show a working design, which students can then try to make cheaper.
That one change made the game much easier to hand to a whole class.
How the two games work together
I think of them as two halves of the same unit:
- Bridge Building Company is about choosing. Which bridge fits this span, ground, and traffic? What does it cost in money and time?
- Bridge Lab is about designing. Where do the beams go, and which ones are working too hard?
A student who has played both has seen the same ideas from two directions. In the company game, “a truss is a good all-around choice” is a fact. In Bridge Lab, it is something they discover when the triangles hold and the flat road sags.
How I use them in class
As reinforcement. After a lesson on bridge types and forces, I put the whole class on one of the games for part of a period. The loops are short, failure is free, and the vocabulary (span, deck, tension, compression, truss) shows up in use instead of on a worksheet.
As extension work for early finishers. A student who finishes the hands-on build does not wait around, and I do not have to invent a task on the spot. A student who likes decisions can try Challenge mode in Bridge Building Company. A student who likes building can chase three stars in Bridge Lab by lowering the cost without overstressing any beam. The later sites, with cables hung from towers, keep the strongest students busy for a while.
A few things make it easier:
- Start the company game in Easy mode, then move students to Challenge once they know the vocabulary.
- Add a seed like
?seed=OAK-417to the Bridge Building Company link so the whole class gets the same sites and events and can compare choices. - Ask one question after a test: “Which beam worked hardest, and what could make it work less?”
- Both games run on Chromebooks, need no accounts, and send nothing anywhere. Bridge Lab saves a student’s designs on that device only.
What I’m still figuring out
I use these as a teacher, not a researcher. I have not measured learning gains, and I have not tested the games on every kind of device. If something confuses your students, I would like to hear about it. You can reach me on the contact page.
Try them
- Bridge Building Company: pick the right bridge for the site and the budget.
- Bridge Lab: design a bridge, test it, and fix what breaks.
For a hands-on build to go with them, try the Bridge Builder Challenge. More free classroom tools are on the Maker404 apps page.