Maker Journal
Bambu Lab R1 and LightBurn: A Starter Material Library You Can Download
Bambu's R1 laser works with LightBurn, but there is no material library for it yet. Here is how I built one from Bambu Suite's own presets, plus a free download.
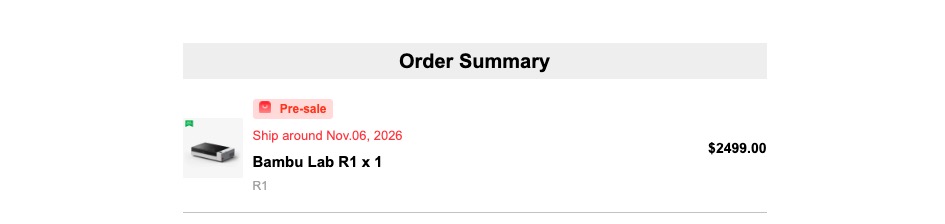
My Bambu Lab R1 is arriving this week, so I have been getting my software ready ahead of time. It is replacing the xTool D1 10W diode laser I have used for years, and I am also teaching my students how to use a laser at school, where we have a Dremel LC40 and an OMTech Polar Lite. The R1 launched with Bambu Suite as its only software, but Bambu has since confirmed LightBurn support. LightBurn is what I use across all of my lasers, so I wanted the R1 to fit the same workflow.
I got the device configuration file working in LightBurn quickly. What I could not find anywhere was a material library, the list of saved power and speed settings for wood, acrylic, and so on. Bambu’s LightBurn setup file only contains the machine profile. The settings live inside Bambu Suite.
So I built a library from them.
Where the settings come from
Bambu Suite stores its material presets as plain JSON files on your computer, one set per material. Each material has separate settings for cutting, line engraving, fill engraving, and image engraving, and many have different versions for different Bambu machines. I pulled out the R1 55W versions and converted them into a LightBurn .clb library file.
On a Mac, they are in ~/Library/Application Support/Bambu Suite, in a subfolder called preset2d. I did this on a Mac, and I have not checked where the Windows version keeps them.
I asked Claude to investigate the files in that folder and write a script that converts the R1 presets into a LightBurn library. I then loaded the result into LightBurn myself to check that it imports and applies the right values.
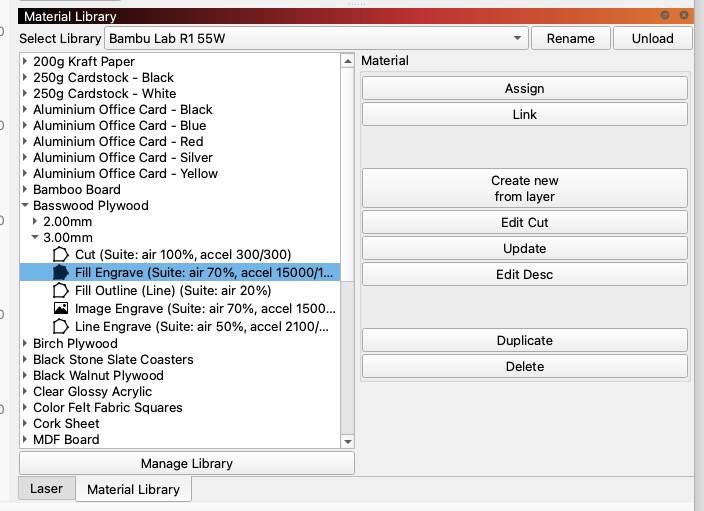
The result is 35 materials and 139 entries, including 3mm and 2mm basswood, birch, walnut, MDF, clear and colored acrylic, cork, paper, leather, felt, and slate.
What a preset looks like
Here is a trimmed excerpt from Bambu’s 3mm basswood file for the R1. Each process type has its own power (as a percentage), speed (in mm/s), and a few extras.
"LaserFillEngrave": {
    "max_power": 15,
    "speed": 460,
    "scanning_interval": 0.1,
    "air_speed": 70
},
"LaserLineCut": {
    "max_power": 75,
    "speed": 30,
    "number_of_passes": 1,
    "air_speed": 100
}
In the LightBurn library, the fill entry becomes a Fill layer at 15% power, 460 mm/s, and a 0.10 mm interval. The cut entry becomes a Line layer at 75% and 30 mm/s.
A few example values
These are Bambu’s own numbers for the R1, not my tested settings.
| Material (3mm) | Process | Power | Speed |
|---|---|---|---|
| Basswood plywood | Cut | 75% | 30 mm/s |
| Basswood plywood | Fill engrave (0.10 mm interval) | 15% | 460 mm/s |
| Clear acrylic | Cut | 80% | 10 mm/s |
| MDF | Cut | 80% | 8 mm/s |
What does not carry over from Suite to LightBurn
Some of Bambu’s settings have no LightBurn equivalent, so I noted them in each entry’s description:
- Air assist. Suite varies air strength by process. LightBurn sends air at full strength for everything.
- Acceleration. Suite sets it per process. LightBurn cannot set it per layer.
- Fill outline. This is a Suite option that traces the edge of a fill after engraving. In LightBurn, use the separate “Fill Outline” entry on its own line layer.
- Dual scanning. Suite scans in both directions for even coverage. The LightBurn version is the Crosshatch option on a Fill layer. The presets leave it off.
- Material height. The R1 profile has Z control on, so LightBurn needs a material height. The library’s thickness values fill that in when you assign an entry.
How to install it
- Download the library file below.
- In LightBurn, open the Library window and click Load.
- Pick
Bambu_R1_55W.clband choose it from the Select Library list. - Select a layer, pick an entry, and click Assign. Selecting an entry alone does not change the layer.
👉 Download: Bambu_R1_55W.clb (LightBurn material library)
Test before you trust it
Treat every value as a starting point. Run LightBurn’s Material Test on a scrap of your actual material before a real job. Bambu tuned these for Suite, and small differences in how LightBurn sends the job can shift the results.
I will post an update with my own test results and a corrected version of the file after the R1 is set up. If you try the library first, I would like to hear how it goes.
The settings in this library come from Bambu Lab’s own Bambu Suite presets. Bambu Lab and LightBurn are not affiliated with Maker404.